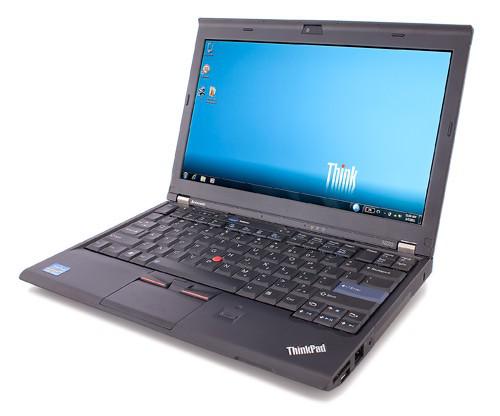
ThinkPad X220 Modified BIOS Update from a Bootable USB
Follow these steps to flash the X220 / X220 Tablet modified BIOS from a bootable USB.
- On a computer running Windows, download and install the free Active@ Boot Disk 9.4 Demo here.
- Launch Active@ Boot Disk 9.4 Demo to create a bootable Windows PE USB drive (just follow the prompts and use the default settings – it doesn’t matter if you select NTFS or FAT32 as the file system)
- Download and unzip the modified BIOS created by ValdikSS at bios-mods.com and place a copy on the USB drive
- Put this bootable Windows PE USB drive in your X220
- Press F12 as the X220 boots to select the USB drive as the boot drive and wait for the computer to finish booting
- Select the Start menu > System > Command Prompt (Cmd.exe)
- Use the command prompt to navigate to the directory with the modified BIOS. It will be on the drive named ACTIVE BOOT which will probably be the D: or E: drive. If you are not familiar with how to use the command prompt, there is more information here.
- When you get to the right directory, type flash.bat and then press Enter. Press OK to install the modified BIOS with the Phoenix UEFI WinFlash utility. It is not uncommon for the flash verification process to fail and the process to restart – just let it run until the reflashing process is complete. Restart the computer after WinFlash finishes.
Please note the warning on the Advanced menu in the BIOS: Setting items on this screen to incorrect values may cause the system to malfunction! The default values will work fine but the wrong settings can prevent your X220 from booting.
Original source of this modified BIOS is here.

